Before you can send mail to the internet with a single server you have to make a connector for your mail transport hub role. The remote domain should already be configured to '*' for the Internet but create a send connector like so:
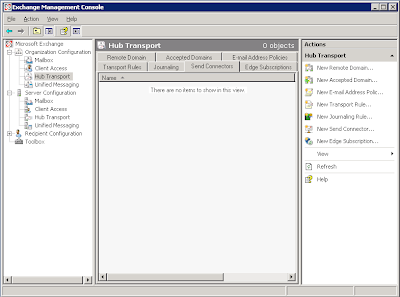
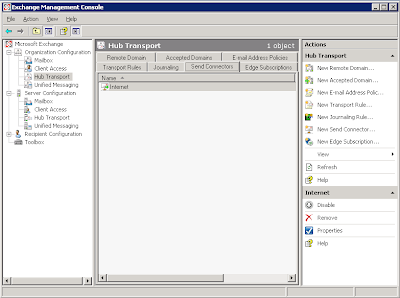
1. Open up the Exchange Management console and select Organization Configuration > Hub Transport and click 'New Send Connector...' underneath Actions, Hub Transport on the right hand side.
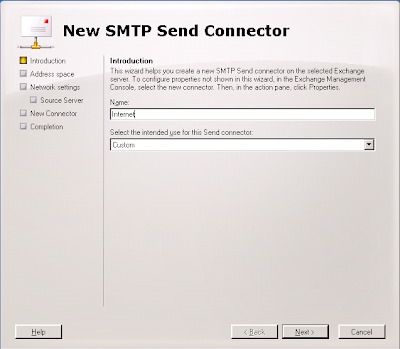
2. You should now get the 'New SMTP Send Connector' dialog box. Enter 'Internet' for the name and leave the intended use at 'Custom' for this connector.
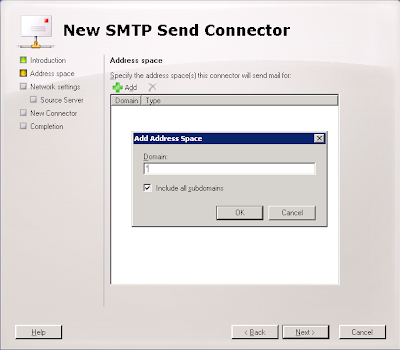
3. Next, for the Domain enter '*' and ensure that you leave 'Include all subdomains' selected.
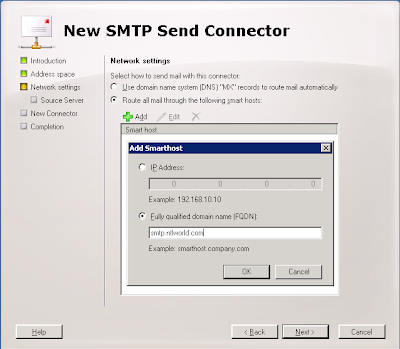
4. Next, choose if you are going to use a smarthost or MX records to deliver mail. Because a lot of administrator block dynamic IP addresses and this test server has a dynamic address I have elected to use my ISP mail server. They relay mail from my IP address and I have used the DNS name of the server to simplify the connection.
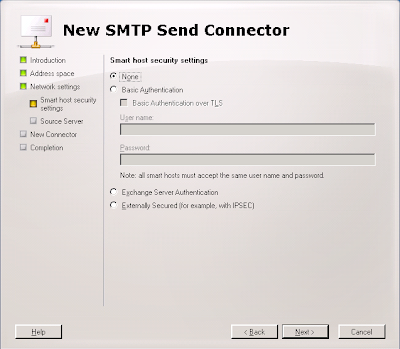
5. Next, if you need to authenticate to your smart host, put the details in here. I don't.
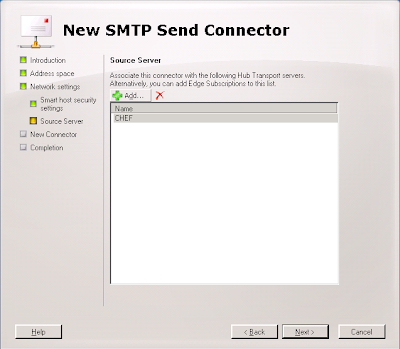
6. Next, select the server that will send mail over the connector. If you only have one server it should already be added.
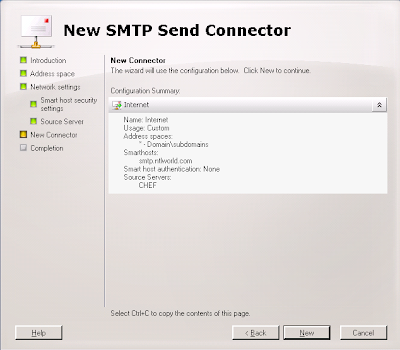
7. Next, verify the settings.
8. Next, create the connector. Beta 2 lists the Power Shell command you could have used to create this connector from the command line.
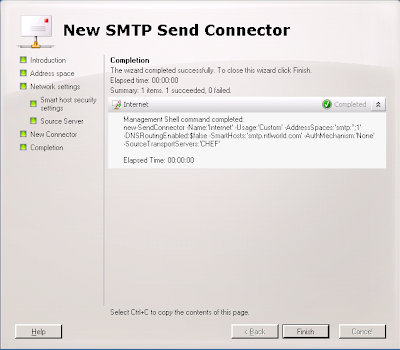
9. All done.


No comments:
Post a Comment